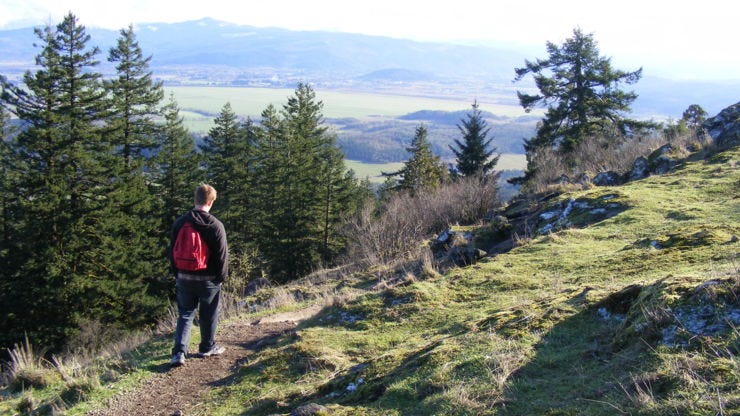
There is something slightly magical about hiking in the Pacific Northwest.
One minute, you are standing beside your car wondering whether you packed enough snacks. The next, you are walking beneath enormous evergreens, listening to a waterfall crash through a moss-covered canyon, or emerging onto a viewpoint that makes you temporarily forget how sweaty you are.
And no, you do not need to be a rugged mountaineer with expensive gear and calves of steel to experience it.
Some of the best hikes in Oregon, Washington, and British Columbia are short, approachable, and perfect for beginners. You can wander through coastal forests, follow a river to a waterfall, explore a wildflower meadow, or enjoy a mountain view without tackling a punishing climb.
The key is choosing a trail that matches your current ability—not the ability of the overly enthusiastic stranger in the online reviews who called a 12-mile hike “a quick little walk.”
This beginner’s guide covers everything you need to start hiking safely and confidently, from choosing the right trail and understanding trail descriptions to packing your gear and handling Pacific Northwest weather.
Your perfect trail is out there. Let’s help you find it.
What Counts as Hiking?
Hiking is simply walking outdoors on a designated trail or natural route. A hike can be a flat half-mile loop through an old-growth forest or a full-day climb into the mountains.
There is no minimum distance, elevation gain, or difficulty level required for an outing to “count” as a hike.
You also do not have to move quickly. Hiking is not a race. You can stop to photograph to your heart’s delight, admire the view, catch your breath, or investigate every suspicious rustling sound in the bushes.
For beginners, the best hikes are usually:
- Three miles or shorter
- Clearly marked and well maintained
- Relatively close to roads or populated areas
- Low to moderate in elevation gain
- Popular enough that other hikers are usually present
- Free from complicated navigation or technical terrain
Once you become more comfortable, you can gradually increase your distance and difficulty.
Why the Pacific Northwest Is Perfect for Beginner Hikers
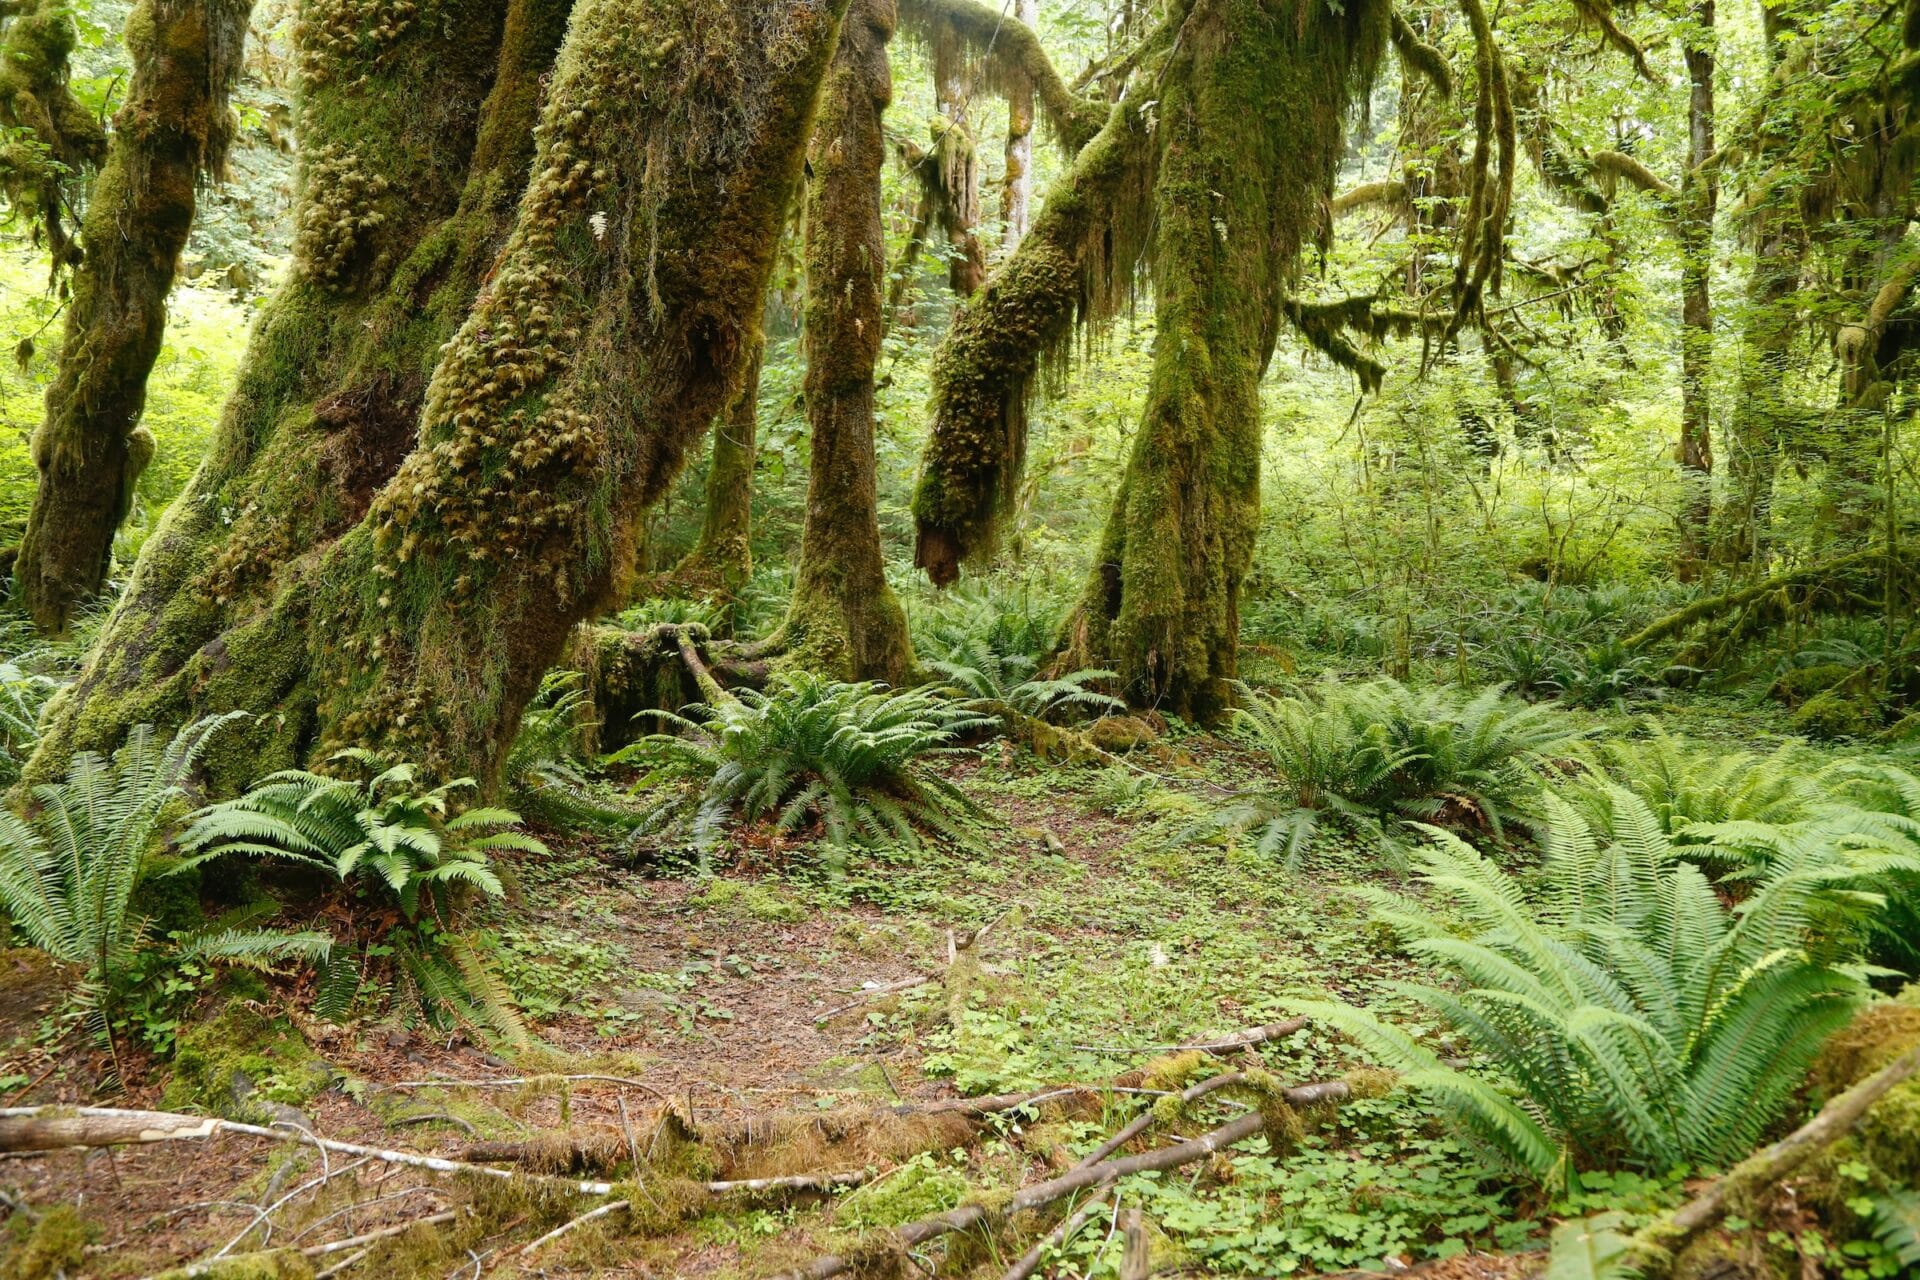
The Pacific Northwest offers an enormous variety of landscapes, which means you do not have to climb a mountain to enjoy spectacular scenery.
Beginner-friendly trails can lead through:
- Temperate rainforests
- Waterfall-filled canyons
- River valleys
- Mountain regions
- Coastal headlands
- Wildflower meadows
- Volcanic landscapes
- Mossy old-growth forests
- Urban nature preserves (hello Portland and Seattle!)

Many communities in Oregon, Washington, and British Columbia also have excellent trail systems within a short drive of town. That makes it easier to start with a simple morning or afternoon hike before committing to a longer wilderness adventure.
The region’s scenery also changes dramatically with the seasons. A forest trail may be covered in trilliums during spring, glow with golden leaves in fall, and become a misty green wonderland during winter.
How to Choose the Right Beginner Hiking Trail
Choosing the right trail is one of the most important parts of planning a successful hike.
A trail can be short but steep, long but nearly flat, or easy in summer and difficult when covered in snow. Distance alone does not tell the entire story.
Before selecting a hike, consider the following factors.
Trail Distance
For your first few hikes, look for trails between one and three miles round trip.
Remember to check whether the listed distance is:
- Round trip
- One way
- A loop
- An out-and-back route
A trail described as “three miles one way” requires six miles of hiking to return to your starting point.
That is a rather important detail to discover before you are three miles from your car.
Elevation Gain
Elevation gain tells you how much climbing you will do during the hike.
A two-mile hike with 1,000 feet of elevation gain will feel significantly harder than a two-mile trail with 100 feet of gain.
As a general starting point, beginners may want to look for:
- Under 300 feet of elevation gain for an easier hike
- Between 300 and 700 feet for a moderate challenge
- More than 700 feet only after gaining some hiking experience
These numbers are only guidelines. Your fitness level, trail surface, weather, and altitude can all affect how difficult a hike feels.
Trail Surface
Look for trail descriptions that mention a maintained dirt path, boardwalk, paved route, or wide gravel trail.
More challenging terrain may include:
- Loose rock
- Mud
- Exposed tree roots
- Steep drop-offs
- Stream crossings
- Boulder fields
- Snowfields
- Scrambling
A little mud and a few roots are practically part of the Pacific Northwest admission fee. However, beginners should avoid trails requiring hands-on climbing, complicated creek crossings, or navigation across snow.
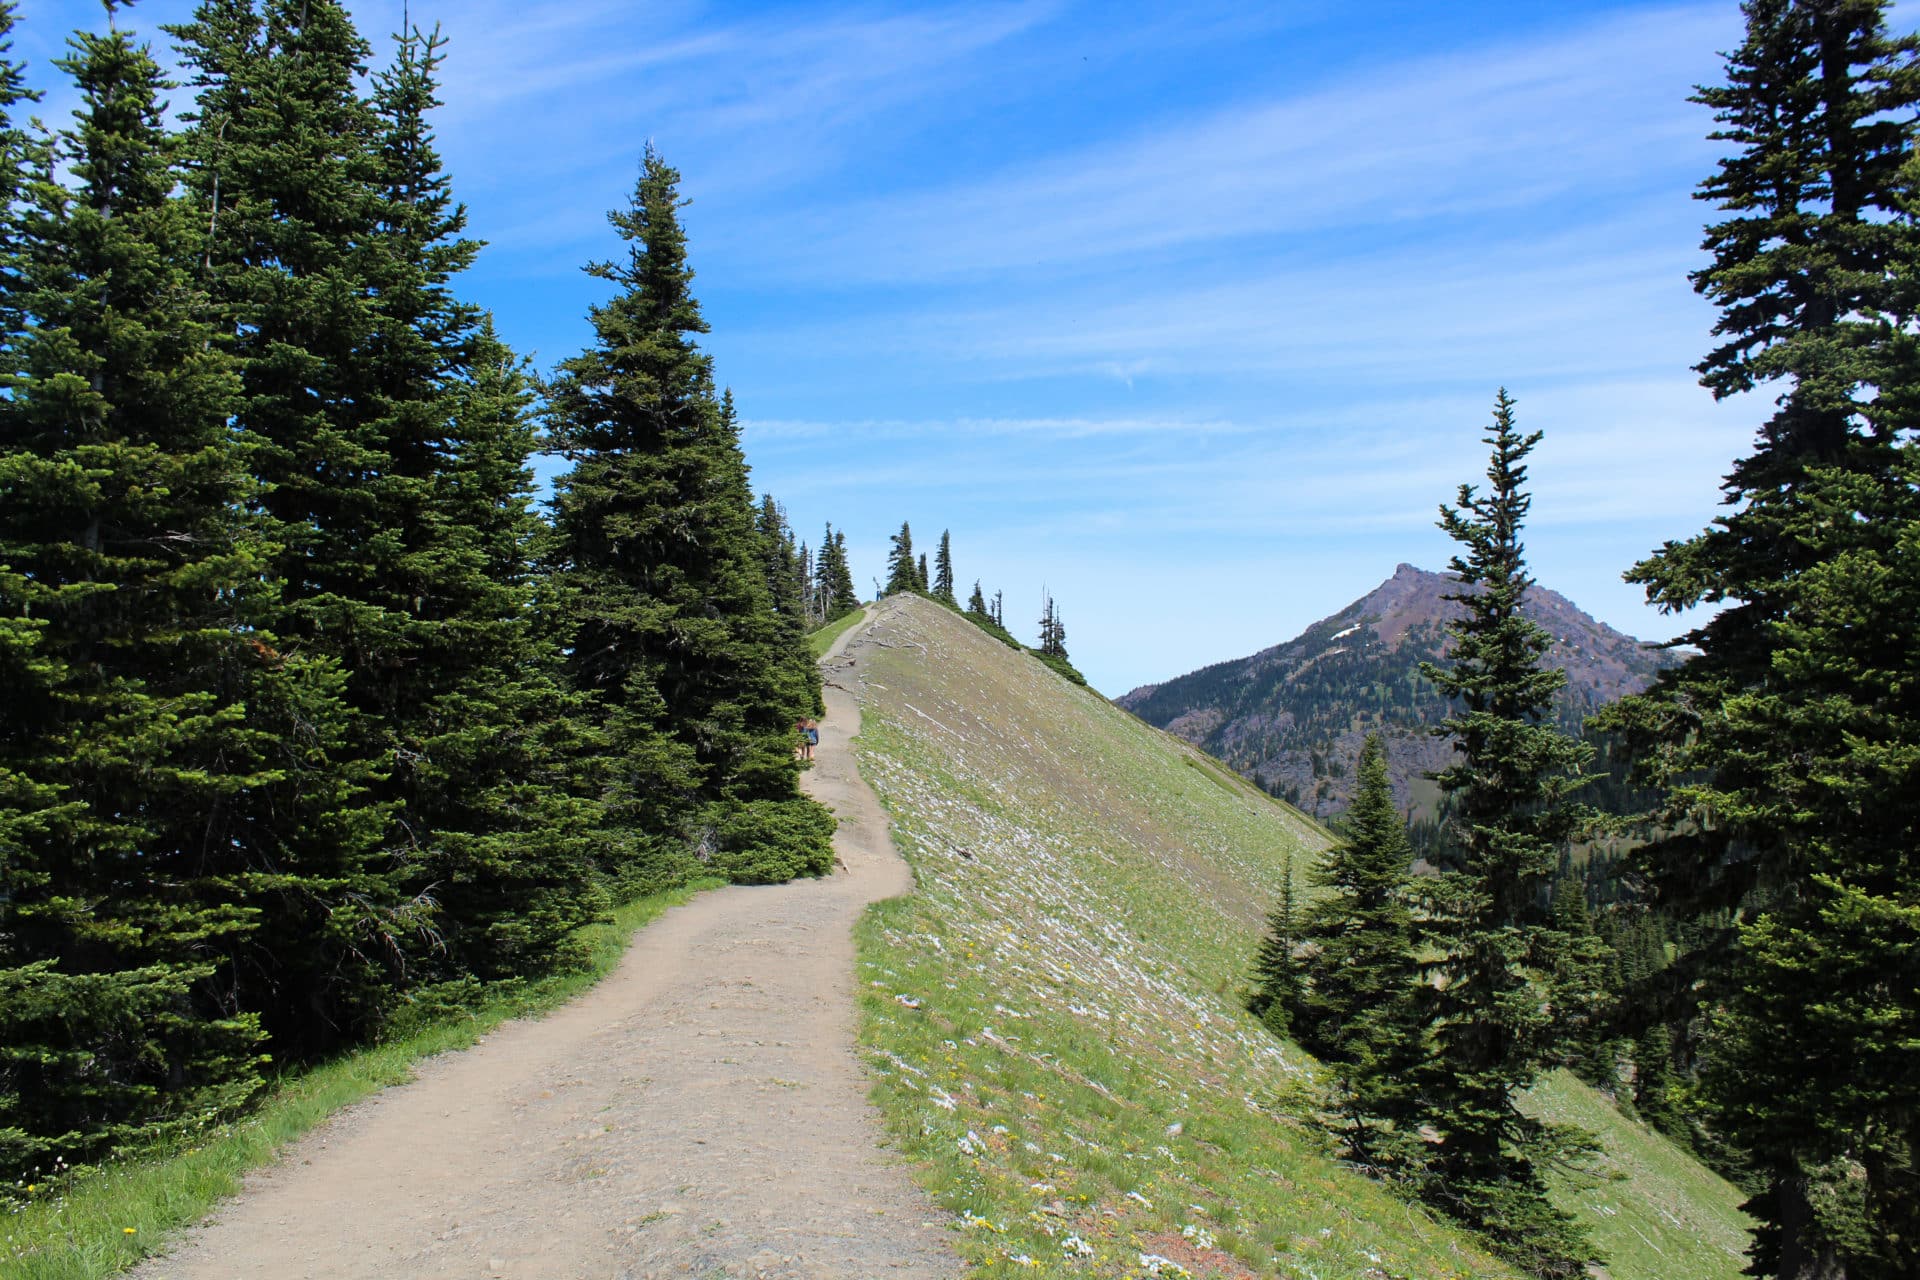
Trail Type
There are three common trail types.
Loop trails return to the starting point without retracing the same route.
Out-and-back trails follow the same path to a destination and back.
Point-to-point trails begin and end in different locations, often requiring a shuttle or second vehicle.
Loop and out-and-back trails are generally easiest for beginners.
An out-and-back trail also allows you to turn around whenever you have reached your personal halfway point.
Current Trail Conditions
Conditions can change quickly in the Pacific Northwest. A trail that was easy last month may now have snow, fallen trees, storm damage, flooding, or a washed-out section.
Before leaving home, check recent trip reports and official land-management websites for:
- Trail closures
- Road closures
- Snow levels
- Wildfire activity
- Storm damage
- Parking restrictions
- Permit requirements
- Seasonal hazards
Pay close attention to the date of each report. A glowing review from last August will not tell you what the trail looks like during a rainy week in March.
Understanding Hiking Difficulty Ratings
Many hiking websites and apps label trails as easy, moderate, or difficult. Unfortunately, these descriptions are not standardized.
One person’s “easy” hike may be another person’s personal feud with gravity.
Use difficulty ratings as a starting point, but also examine:
- Total distance
- Elevation gain
- Steepness
- Trail surface
- Exposure
- Navigation requirements
- Recent conditions
- Comments from hikers with similar experience levels
Reading several recent reviews can help you form a more realistic picture of the trail.
How to Prepare for Your First Hike
You do not need to train for months before walking a beginner trail, but a little preparation can make the experience far more enjoyable.
Start Walking Regularly
Regular walks around your neighborhood can help build endurance.
Begin with comfortable distances and gradually add:
- Longer walks
- Small hills
- Uneven surfaces
- Stairs
- A lightly loaded daypack
You do not need an elaborate training schedule. Consistent movement is more useful than attempting one heroic workout and then spending three days unable to sit down properly.
Test Your Gear Before Hiking
Wear your hiking shoes or boots on several shorter walks before taking them onto the trail.
Adjust your backpack and test your layers at home. Make sure your water bottle does not leak and that you know how to operate any new equipment.
The trailhead is not the ideal place to discover that your hydration bladder has emptied itself inside your backpack.
Check the Forecast
Look at the forecast for the trail location, not just the nearest major city.
Mountain, coastal, and forest conditions can differ dramatically from conditions in town. Temperatures may also drop as elevation increases.
Check for:
- Temperature
- Rain
- Wind
- Thunderstorms
- Snow
- Extreme heat
- Air quality
Be prepared to change your plans when conditions are unsafe.
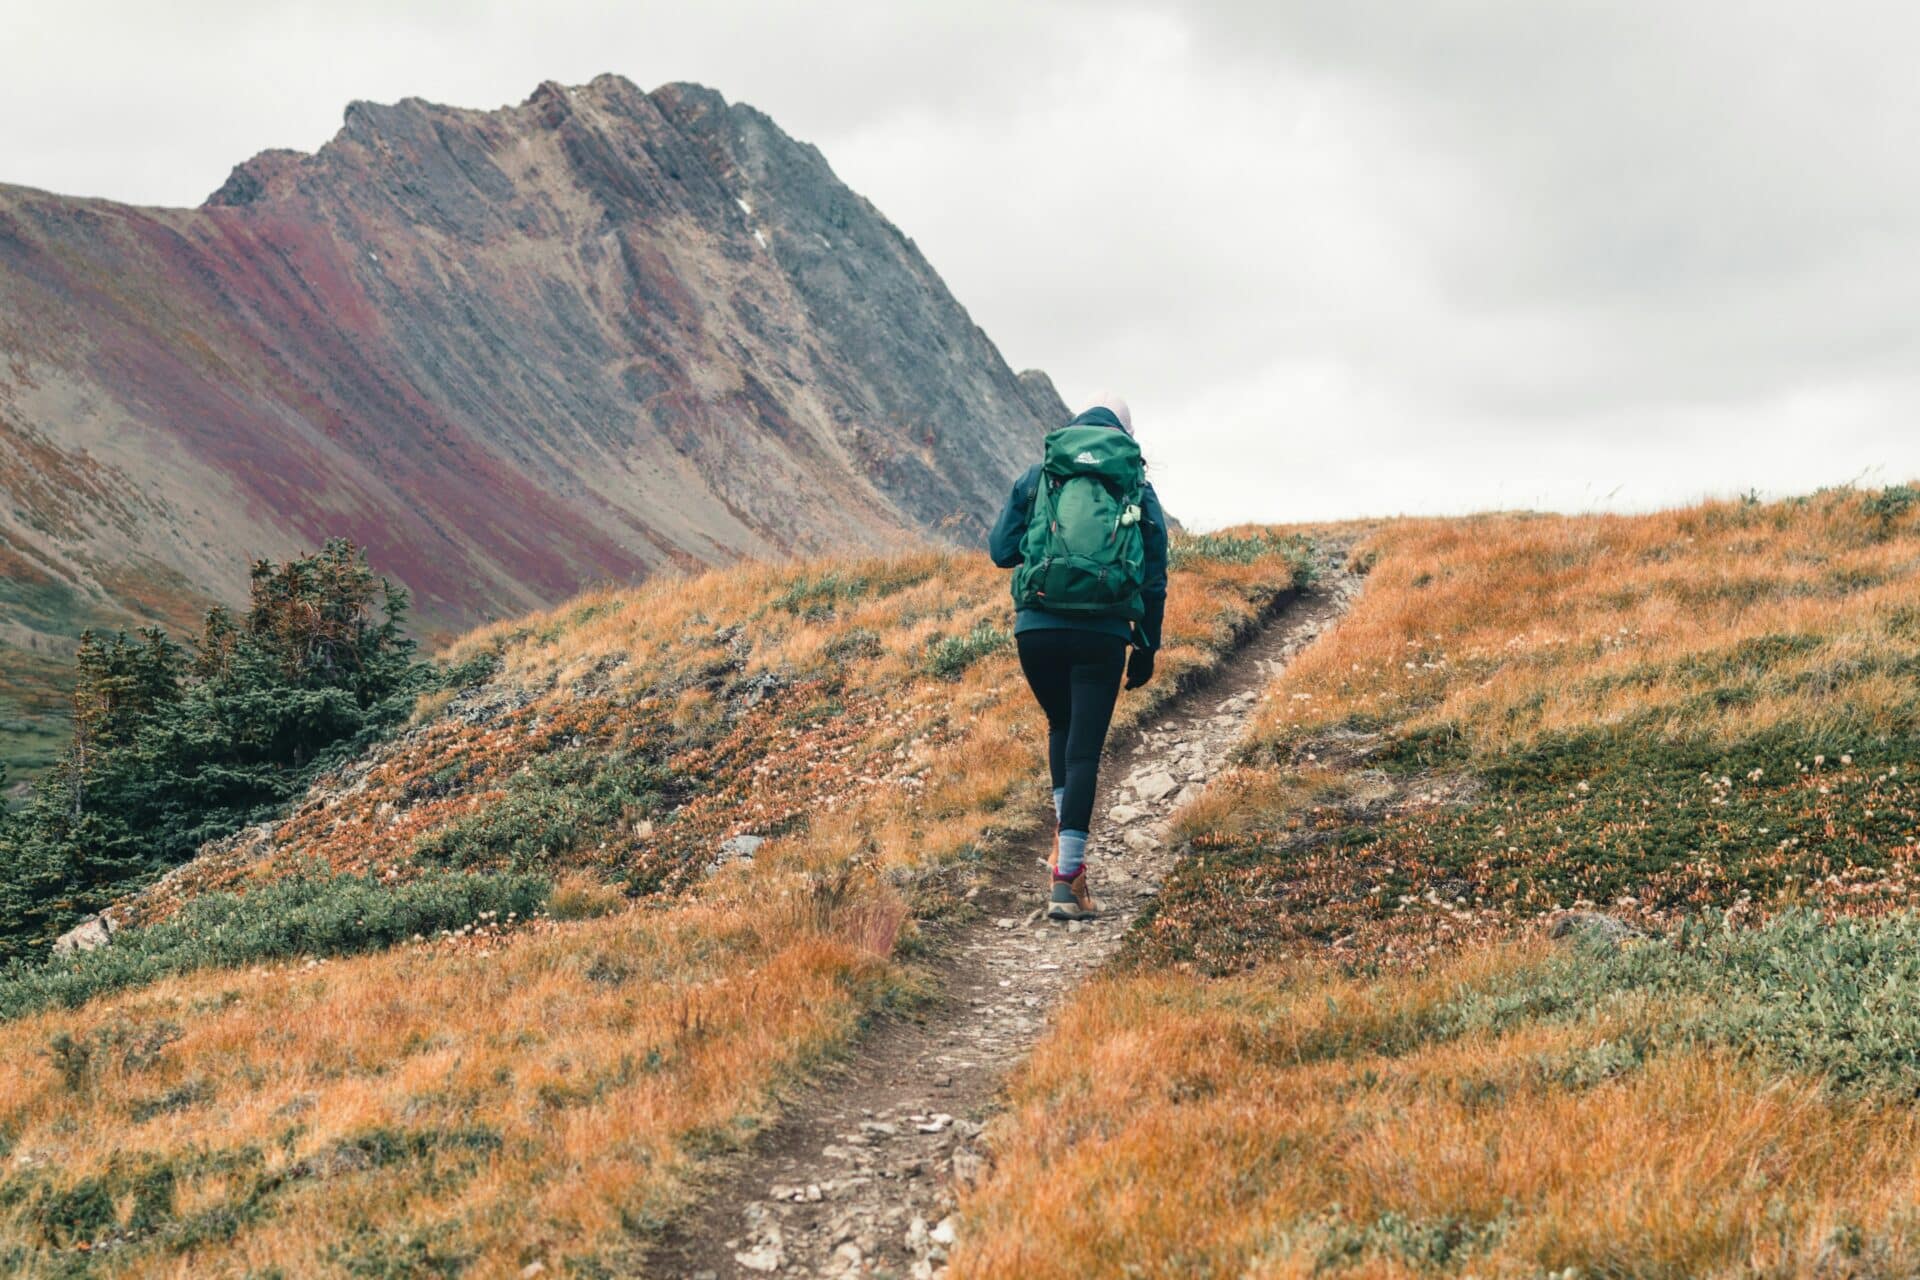
What to Wear Hiking in the Pacific Northwest
Pacific Northwest weather has a talent for producing sunshine, mist, wind, and rain during the same outing.
The best strategy is to dress in layers.
Base Layer
Your base layer sits closest to your skin and helps manage sweat.
Choose a synthetic or merino wool shirt rather than cotton. Cotton absorbs moisture and can leave you cold when temperatures drop.
Insulating Layer
Bring a fleece, light puffy jacket, or warm sweater depending on the season and location.
Even warm days can become chilly near the coast, in shaded forests, or at higher elevations.
Waterproof Outer Layer
A lightweight rain jacket is one of the most useful pieces of hiking gear you can own in the Pacific Northwest.
Choose one that blocks both rain and wind. Rain pants can also be useful during wet seasons or on trails lined with dripping vegetation.
Hiking Pants or Shorts
Wear clothing that allows comfortable movement and dries relatively quickly.
Jeans are not ideal for hiking because they become heavy and uncomfortable when wet.

Hiking Shoes or Boots
You do not necessarily need heavy hiking boots for an easy, well-maintained trail.
Trail-running shoes or sturdy athletic shoes may work for dry, gentle routes. Hiking shoes or boots provide more traction and support on muddy, rocky, or uneven trails.
Whatever you choose, make sure the shoes fit properly and have been worn before the hike.
Hiking Socks
Wear wool or synthetic hiking socks rather than cotton socks. Good socks help control moisture and reduce friction.
Consider carrying an extra pair on wet hikes. Few things improve morale as quickly as replacing soaked socks with dry ones.
The Essential Hiking Gear Beginners Should Carry
You do not need to purchase every gadget in the outdoor store. Start with the essentials and add specialized gear as your hikes become longer or more challenging.
Backpack
A small daypack is usually sufficient for beginner hikes.
It should comfortably hold your water, layers, food, and safety supplies without feeling overloaded.
Water
Carry more water than you expect to drink, especially during warm weather.
The amount you need depends on the temperature, distance, elevation gain, and your individual needs. Do not assume that streams or lakes provide safe drinking water. Natural water should be properly filtered or treated before drinking.
Food and Snacks
Bring easy-to-carry snacks such as:
- Trail mix
- Granola bars
- Fruit
- Sandwiches
- Nuts
- Crackers
- Energy bars
Pack at least one more snack than you think you will need. Hiking has a remarkable ability to turn an ordinary granola bar into a gourmet experience.
Navigation
Carry a map of the trail and know how to use it.
You can use a hiking app, but download the map before leaving home. Cell service is unreliable in many Pacific Northwest parks and forests.
A paper map is a useful backup on longer or more remote hikes.
Sun Protection
Bring sunscreen, sunglasses, and a hat.
Clouds and tree cover do not eliminate UV exposure.
First-Aid Kit
A small hiking first-aid kit should include supplies for common minor problems such as:
- Blisters
- Scrapes
- Small cuts
- Headaches
- Insect bites
Include any personal medications you may need.
Headlamp
Carry a headlamp even when you plan to return well before dark.
Delays happen, and a phone flashlight is not an ideal replacement. Make sure the headlamp has working batteries.
Emergency Supplies
Bring a whistle, emergency blanket, and a way to start a fire where fires are permitted.
A portable power bank can help preserve your phone battery, but it should not replace proper navigation or preparation.
The Ten Essentials of Hiking
Outdoor organizations commonly recommend carrying ten categories of essential equipment:
- Navigation
- Sun protection
- Insulation
- Illumination
- First-aid supplies
- Fire-starting supplies
- Repair tools
- Extra food
- Extra water
- Emergency shelter
The exact items you carry may vary according to the trail, weather, and length of the hike.
A short walk through a busy city park does not require the same equipment as a remote mountain trail. However, learning the ten essentials creates good habits as your hiking adventures become more ambitious.
What to Do at the Trailhead
Arrive with enough time to finish the hike comfortably before dark.
At the trailhead:
- Confirm that you are at the correct trail
- Read posted notices and warnings
- Pay required parking or entrance fees
- Display any necessary parking pass
- Use the restroom when available
- Review your route
- Check that you have your water and essentials
- Secure valuables out of sight
Take a photo of the trail map if one is posted.
Also note where you parked. Large trailhead parking areas can become surprisingly confusing after several hours in the forest.
How to Pace Yourself on a Hike
Start more slowly than you think you need to.
A comfortable hiking pace should allow you to breathe steadily and speak in short sentences. On uphill sections, shorten your steps instead of trying to power forward.
Take breaks when needed, but avoid sitting for so long that your muscles become stiff.
Drink water regularly rather than waiting until you feel extremely thirsty. Eat before you become depleted.
Most importantly, do not let faster hikers pressure you into moving beyond your comfort level. Step aside safely and let them pass.
Your pace is the correct pace for your hike.
How to Know When to Turn Around
Turning around is not failing.
Weather changes, energy levels drop, trails become more difficult than expected, and sometimes your instincts simply tell you that continuing is not a good idea.
Turn around when:
- You are running low on water
- You feel unusually tired, dizzy, or unwell
- The weather is worsening
- The trail becomes snowy, flooded, or unsafe
- You are no longer certain of the route
- You will not return before dark
- Someone in your group is struggling
- Conditions exceed your experience level
The mountain, waterfall, or viewpoint will still be there another day.
Basic Trail Etiquette
Good trail etiquette helps everyone enjoy the outdoors.
Yield Appropriately
Trail customs can vary, but uphill hikers are generally given the right of way because stopping can interrupt their momentum.
Hikers typically yield to horses, and cyclists usually yield to hikers. Always follow posted rules and communicate clearly when passing.
Stay on the Trail
Walk on the established trail, even when it is muddy.
Walking around mud can widen the path and damage vegetation. Wear appropriate footwear and accept that your shoes may no longer look fresh from the box.
Keep Noise Reasonable
Talking and laughing are perfectly fine, but avoid blasting music from a speaker.
Many people hike to enjoy the sounds of nature. Headphones also make it harder to hear approaching hikers, cyclists, animals, or changing conditions.
Do Not Leave Trash
Pack out everything you bring, including:
- Food wrappers
- Fruit peels
- Tissues
- Dog-waste bags
- Hygiene products
- Broken gear
Natural-looking food waste can still harm wildlife and alter animal behavior.
Control Your Dog
Follow all leash rules and check whether dogs are allowed before choosing the trail.
Keep your dog from approaching hikers, wildlife, or other dogs without permission. Pack out all pet waste.
Follow Leave No Trace Principles
Leave No Trace offers a useful framework for protecting outdoor spaces.
The seven principles are:
- Plan ahead and prepare
- Travel and camp on durable surfaces
- Dispose of waste properly
- Leave what you find
- Minimize campfire impacts
- Respect wildlife
- Be considerate of others
In simple terms: prepare for your outing, stay on the trail, take your trash home, leave plants and rocks where they are, and avoid disturbing wildlife.
Wildflowers belong in the meadow, not in your cup holder.
Wildlife Safety for Beginner Hikers
The Pacific Northwest is home to black bears, cougars, elk, mountain goats, snakes, and many smaller animals.
Wildlife encounters are usually uncommon, but hikers should know how to behave.
Never Feed Wildlife
Do not intentionally feed animals or leave food scraps behind.
Feeding wildlife can make animals dependent on humans and may lead to aggressive behavior.
Give Animals Space
Never approach an animal for a photograph.
If an animal is blocking the trail, remain at a safe distance and wait. Turn around when necessary.
Make Your Presence Known
On quieter trails, speak occasionally or make normal hiking noise, especially near blind corners or dense vegetation.
Avoid surprising animals.
Learn About Local Wildlife
Wildlife precautions vary by destination. Before hiking, review official guidance for the park or forest you are visiting.
Hiking Alone as a Beginner
Solo hiking can be peaceful and empowering, but beginners should take additional precautions.
Start with a popular, clearly marked trail in an area with reliable access.
Before leaving:
- Tell someone exactly where you are going
- Share the trail name and trailhead location
- Explain when you expect to return
- Arrange a check-in time
- Leave a note in your vehicle with emergency contact information
- Download your map
- Carry the ten essentials
- Keep your phone charged
Do not rely on cellular service.
Trust your instincts. You never need to explain or justify leaving a place that makes you uncomfortable.
Hiking With Children
Choose short trails with interesting features along the way, such as waterfalls, bridges, beaches, giant trees, or lakes.
Bring more snacks than seems remotely reasonable.
Allow children to set a comfortable pace and take frequent breaks. Turn the hike into an adventure by looking for animal tracks, unusual leaves, mushrooms, or birds.
Avoid focusing too heavily on reaching the final viewpoint. For children, the log beside the trail may be far more exciting than the scenic overlook you carefully planned.

Hiking in Different Pacific Northwest Seasons
Each season brings different opportunities and challenges.
Spring
Spring is excellent for waterfalls, wildflowers, and lush green forests.
Expect:
- Mud
- Rain
- Lingering mountain snow
- High or fast-moving streams
- Unstable trail conditions
Lower-elevation forest and coastal trails are often better choices than mountain trails during early spring.
Summer
Summer provides the widest range of hiking opportunities, including many higher-elevation trails.
Expect:
- Crowded trailheads
- Limited parking
- Heat
- Strong sun exposure
- Mosquitoes
- Wildfire smoke or closures
- Permit requirements at some popular destinations
Start early to avoid crowds and midday heat.
Fall
Fall can bring cooler temperatures, colorful foliage, and fewer insects.
Expect:
- Shorter daylight hours
- Chilly mornings
- Early mountain snow
- Rain
- Slippery leaves and roots
Bring extra layers and monitor the sunset time.
Winter
Winter is a good time to explore coastal trails, urban parks, and lower-elevation forests.
Expect:
- Rain
- Wind
- Snow or ice
- Short daylight hours
- Seasonal road closures
- Flooded or muddy trails
Snow-covered mountain routes may require specialized skills and equipment. Beginners should not assume a familiar summer trail remains easy during winter.
Common Beginner Hiking Mistakes
Most hiking mistakes are preventable with a little planning.
Choosing a Trail That Is Too Difficult
Select a trail based on your current ability rather than the hike you think you should be able to complete.
Build experience gradually.
Starting Too Late
Give yourself more time than the trail description suggests.
Hiking times vary, and you may want to stop for photos, snacks, or scenery.
Relying Entirely on a Phone
Phones lose battery power, break, and lose service.
Download your map and carry backup navigation when appropriate.
Wearing Brand-New Shoes
New footwear can cause blisters and discomfort.
Break your shoes in before attempting a longer hike.
Carrying Too Little Water
Bring more than you think you will need, particularly during warm weather or on exposed trails.
Ignoring Weather Changes
Turn around when conditions become unsafe.
Reaching the destination is never more important than returning safely.
Leaving Food in the Car
Food and scented items can attract wildlife in some areas.
Follow all local food-storage instructions.
How to Build Confidence as a New Hiker
Confidence grows through experience, not through waiting until you feel completely ready.
Begin with a short, popular trail. Notice what feels comfortable and what you would change next time.
After each hike, ask yourself:
- Did I carry enough water?
- Were my shoes comfortable?
- Did I need another layer?
- Was the elevation gain manageable?
- Did I understand the route?
- What type of scenery did I enjoy most?
Use what you learn to choose your next trail.
You might discover that you love waterfall hikes but have no interest in steep mountain climbs. Perhaps coastal headlands make you happy, or maybe you prefer quiet forest loops close to town.
There is no single correct way to be a hiker.
Your First-Hike Checklist
Before leaving home, confirm that you have:
- Checked the weather
- Reviewed current trail conditions
- Confirmed road access
- Checked parking and permit requirements
- Downloaded the trail map
- Told someone where you are going
- Packed water and food
- Packed extra layers
- Packed rain protection
- Packed basic first-aid supplies
- Packed a headlamp
- Charged your phone
- Allowed enough daylight
- Chosen a trail within your ability
Final Thoughts: Your Perfect Trail Is Waiting
Hiking does not have to begin with a dramatic mountain summit or a punishing all-day trek.
It can begin with a quiet forest path, a short walk to a waterfall, or a coastal trail where the biggest challenge is resisting the urge to photograph every sea stack.
Start small. Prepare well. Choose trails that genuinely appeal to you, and do not worry about how far or fast anyone else is hiking.
The Pacific Northwest has trails for nearly every interest and ability level. With a little preparation, you can explore them safely, confidently, and at your own pace.
Pack your rain jacket, grab a few snacks, and go find the trail that makes you wonder why you did not start hiking sooner.
